Campaign Creation
FunnelManager Campaign Creation Guide
Welcome to FunnelManager’s Campaign Creation wizard! This exciting guide will walk you through the steps to create compelling campaigns that engage your audience effectively. Follow the journey from campaign details to activation and scheduling, and let your marketing strategies come to life.
How to Create a New Campaign
-
Click on ‘+ New Campaign’ to initiate the campaign creation process.
-
This takes you into the campaign creation wizard, where you can fill in the following details:
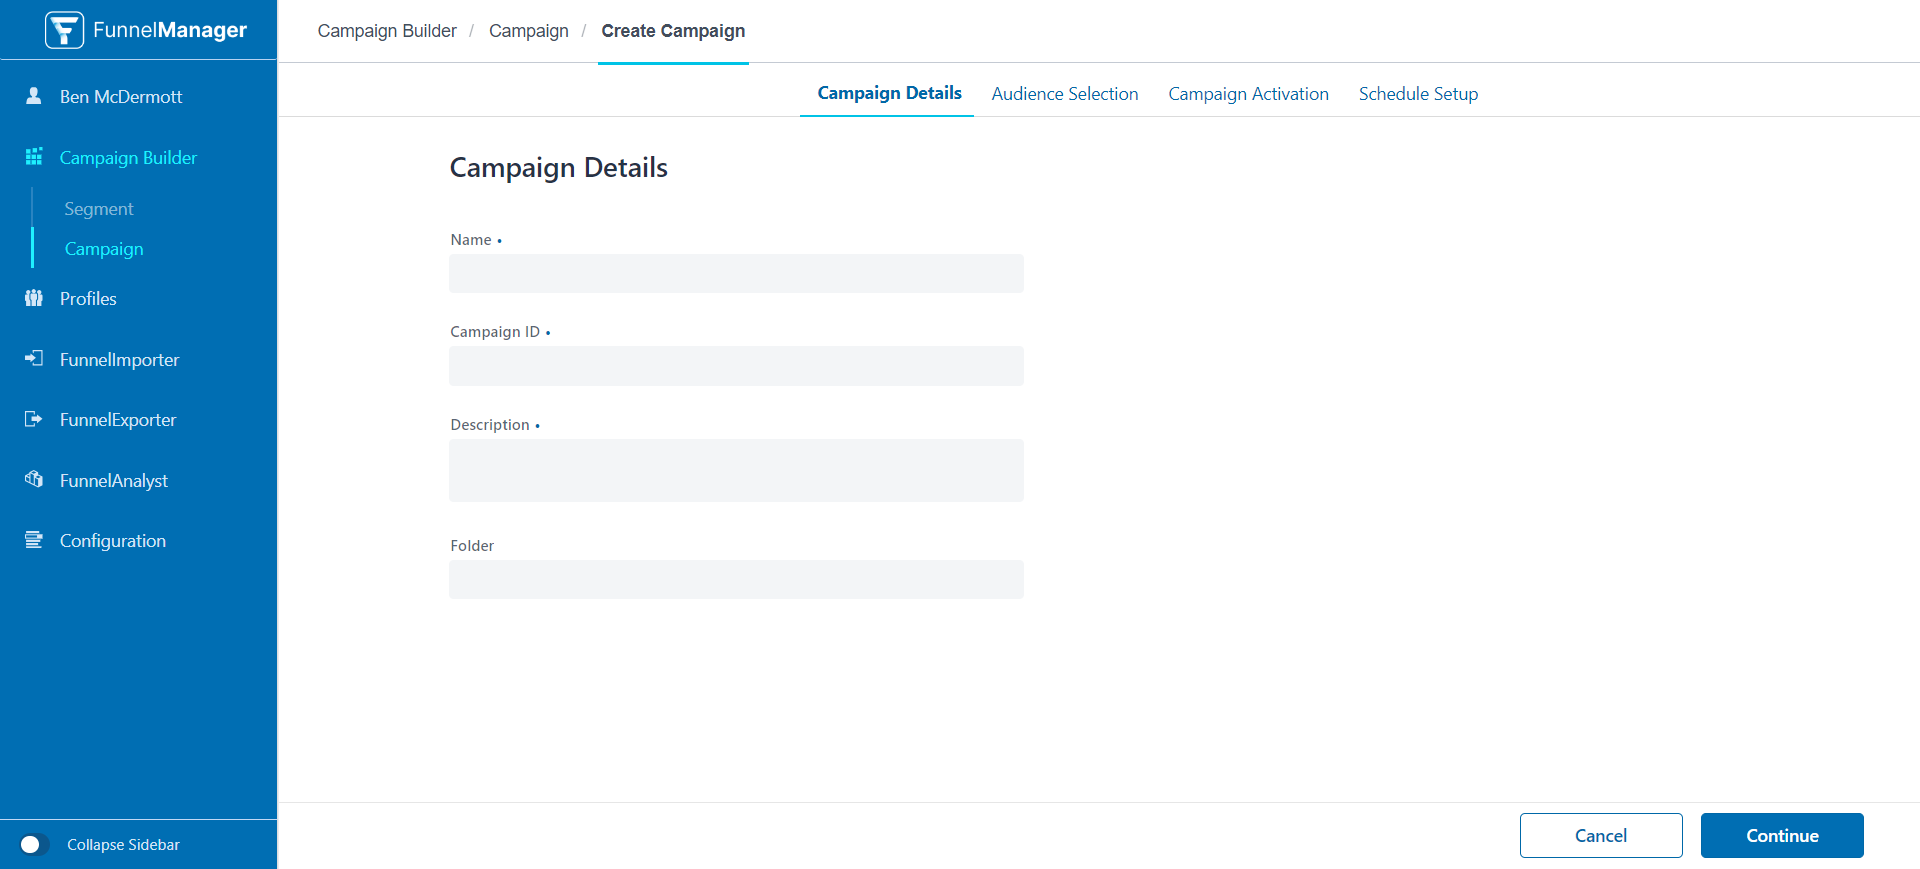
Screen 1: Campaign Details
-
Campaign Name:
- Add a descriptive name for your campaign.
-
Campaign ID:
- Enter a user-generated ID for the campaign. This ID can be used in TargetData and external systems and will be part of the attribute key-value pair for inlining in the user profile.
-
Description (Optional):
- Add a short note to describe the campaign for other users.
-
Select Folder (Optional):
- Choose a folder for better organization. Folders can be created in the sidebar of the Campaign Overview.
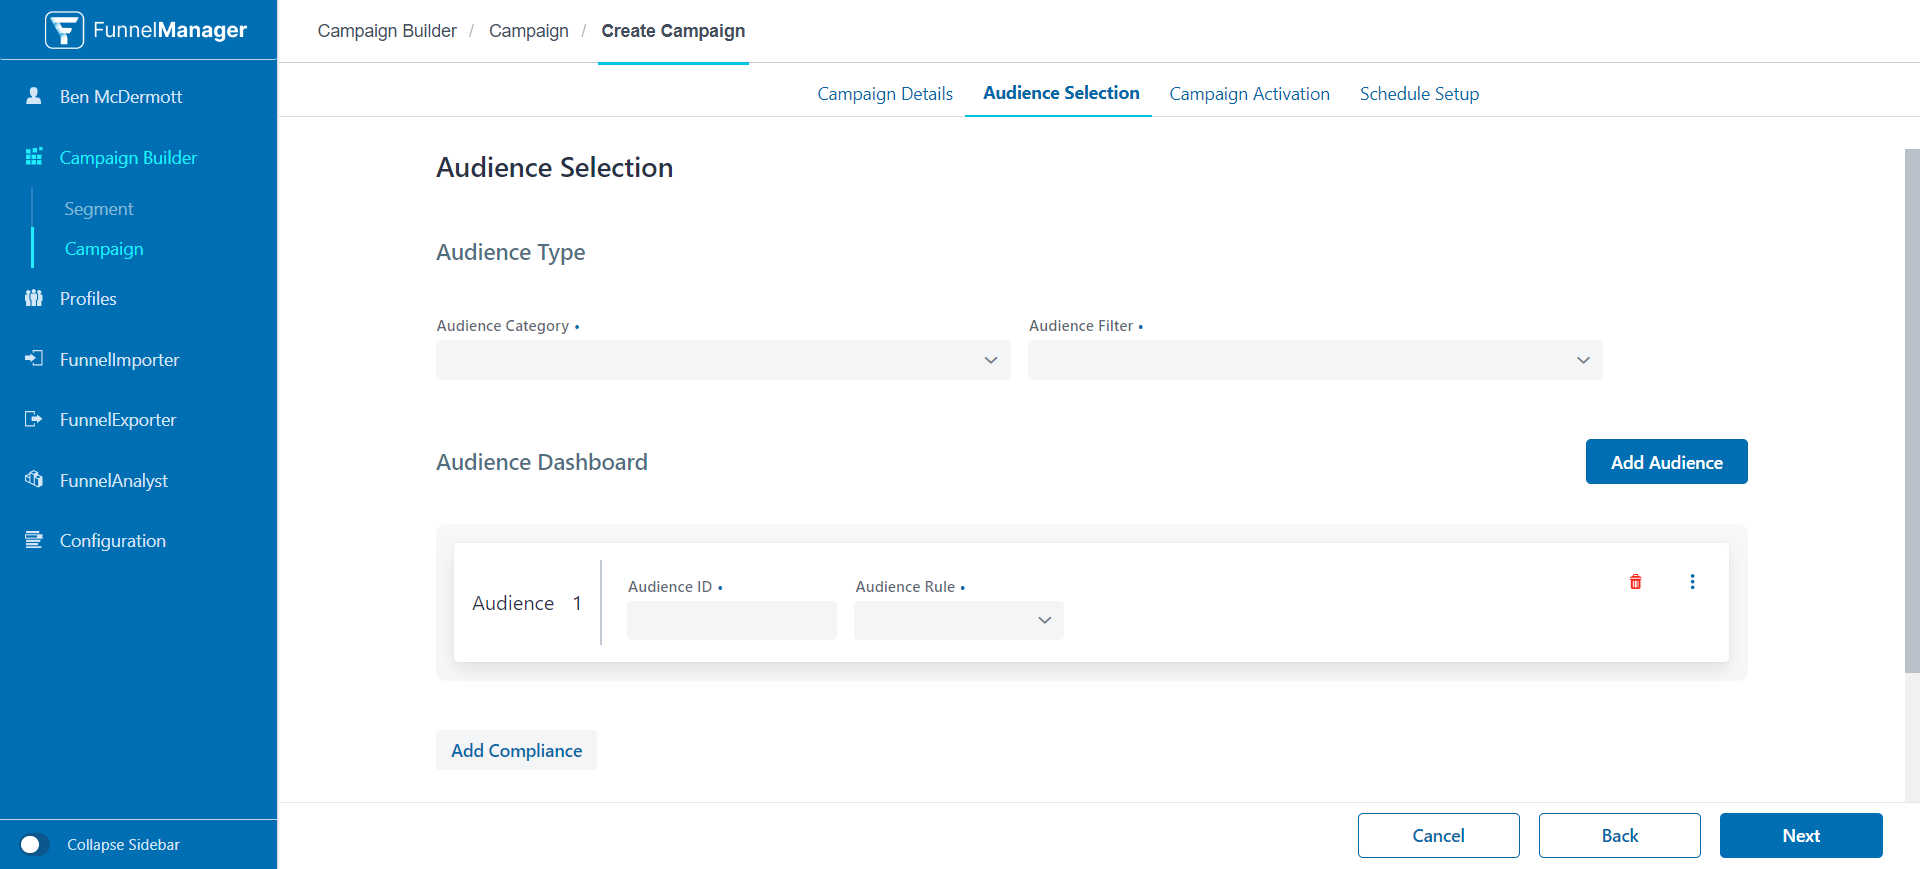
Screen 2: Audience Selection
-
Audience Category:
- Choose from pre-defined categories to restrict the audience(s) and segment(s) available for selection.
-
Audience Filter:
- Apply pre-defined filters to further refine the audience(s).
-
Define Audience(s):
- Create offers using a powerful Boolean Rule Builder to define complex campaign audiences.
-
Add Compliance (Optional):
- Set up campaign compliance using Predefined Rules or Compliance Builder, ensuring adherence to specific rules for each campaign.
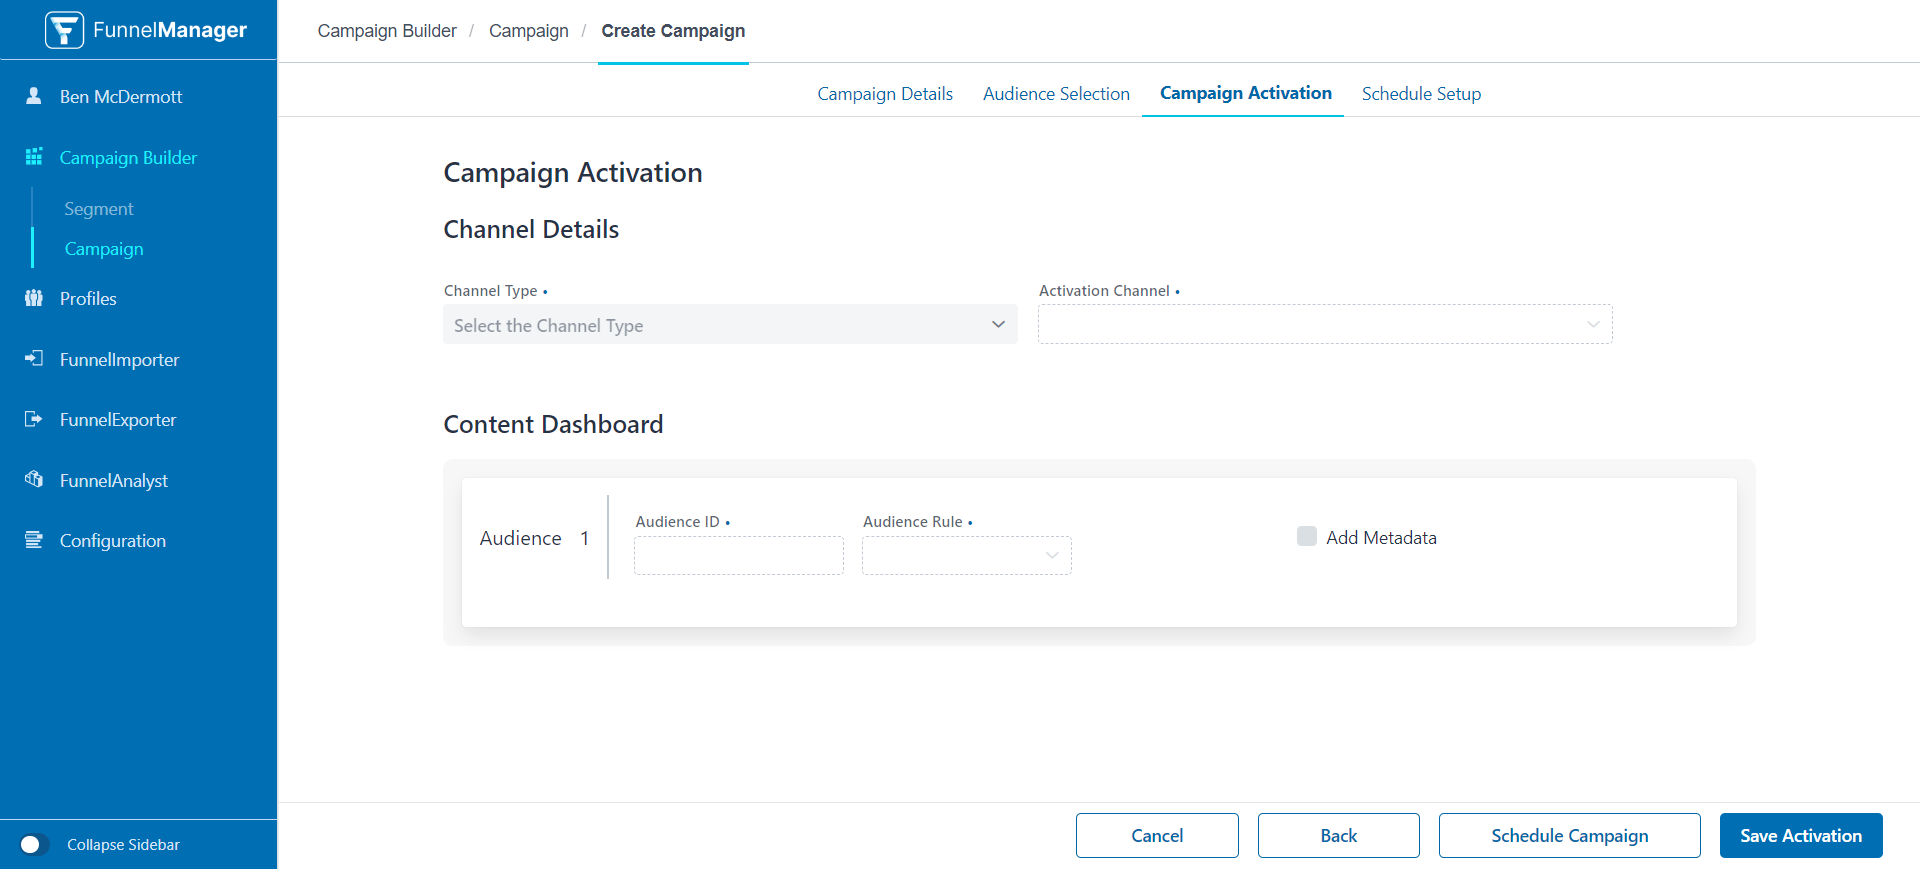
Screen 3: Campaign Activation
-
Channel Type:
- Select the channel type for campaign activation.
-
Select Activation Channel:
- Choose the activation channel for your campaign.
-
Channel Details Check:
- Verify selected channel details directly in the activation creation UI to ensure accuracy.
-
Add Audience Metadata:
- Include relevant metadata for successful activations. Edit and complete a template loaded for each channel.
-
Save or Continue to Scheduling:
- Save the campaign or proceed to scheduling. The system defaults to a one-month schedule starting from the time of save.
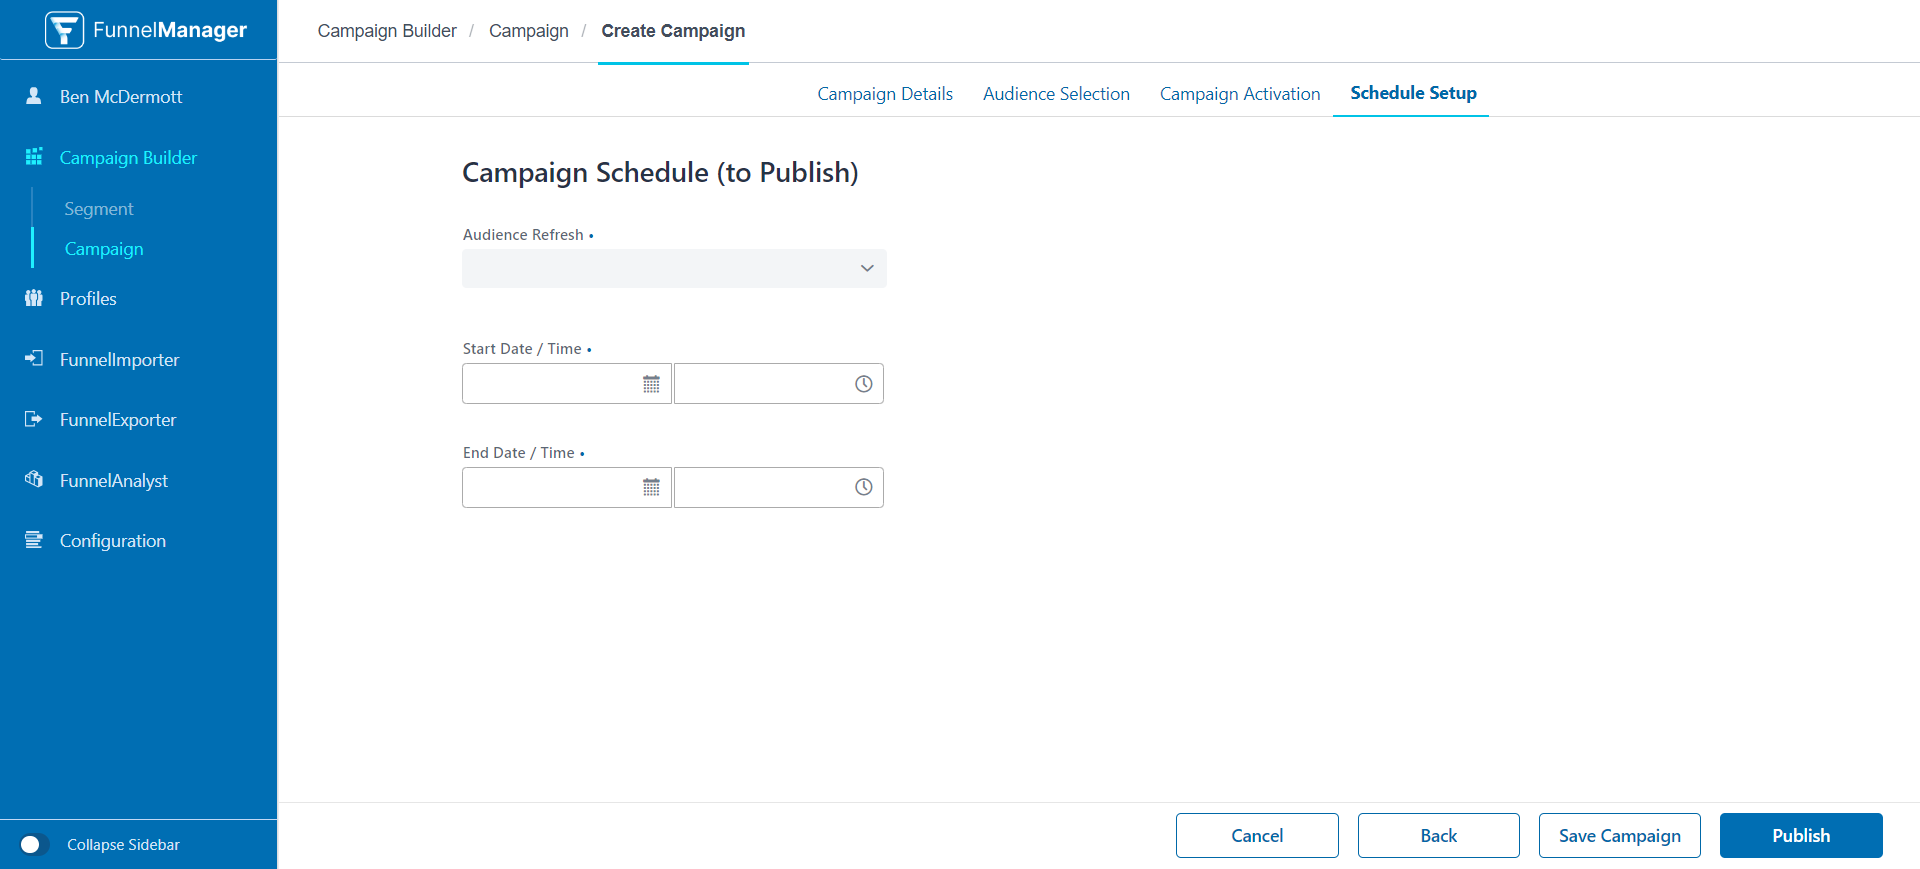
Screen 4: Campaign Schedule
-
Audience Refresh:
- Set the recurrence of the campaign run during its schedule.
-
Campaign Start Date & Time:
- Define the start date and time for your campaign.
-
Campaign End Date & Time:
- Specify the end date and time for your campaign.
-
Save or Publish:
- Save the campaign or directly publish it.
Congratulations! You’ve successfully created a dynamic campaign using FunnelManager’s Campaign Creation wizard. Get ready to elevate your marketing game and engage your audience like never before!